

I spent years thinking watering was watering. Turn on the hose, wet everything down, move on with the day. It wasn't until I really paid attention to how my two raised beds performed from one week to the next that I understood the tool matters, but the method matters just as much, maybe more. I've been running a Flexi Hose out from the same spigot every morning for a full growing season now, and the routine I've settled into gets more out of it than just turning the water on and hoping for the best.
None of what follows is complicated, and none of it requires anything you don't already have hanging in the shed. It's the order I actually water in now, worked out over thirty-eight years on this half-acre outside Burlington, North Carolina, most of it on red clay that sheds water fast once it dries out, with a slope at the back of the lot that will run water right past a bed if you're not paying attention to how you lay the hose. If you want your beds watered deep instead of just wet on top, and you're tired of walking back to unkink a hose halfway through the job, this is the method, step by step, with the Flexi Hose doing the carrying.
The Routine Below Only Works With a Hose That Cooperates
Every step in this guide assumes a hose that doesn't fight you around a corner or hold a kink overnight. That's been my experience running a Flexi Hose across this yard for a full season. Check today's price and current rating on Amazon before you start your next watering routine.
Amazon Check Today's Price on Amazon →Step 1: Water Deep and Skip a Day or Two Between
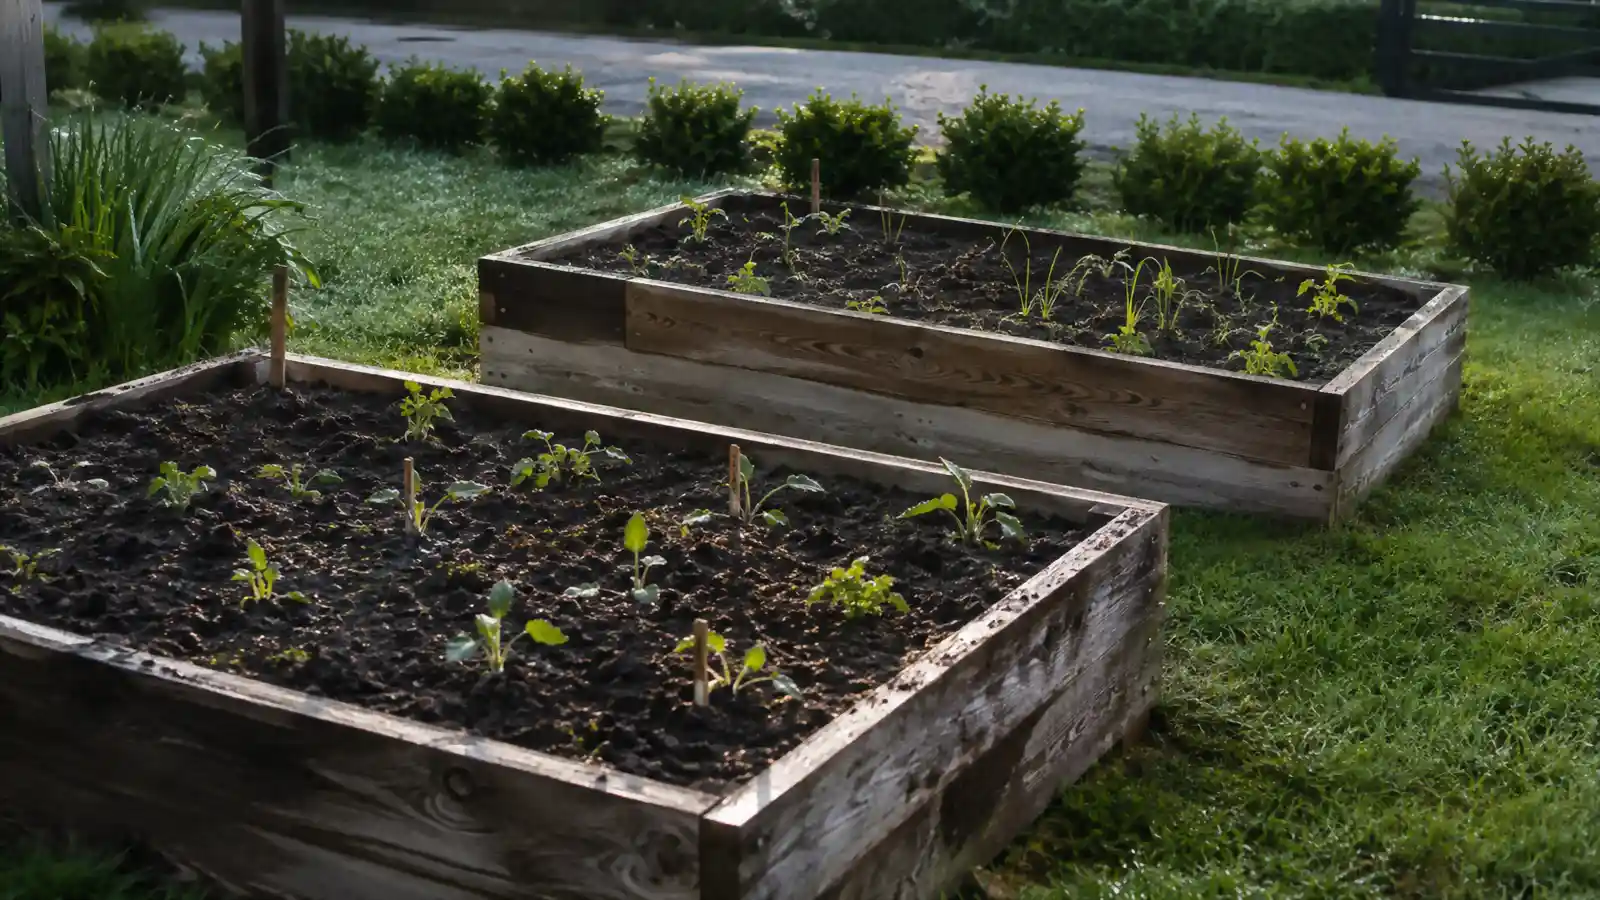
The single biggest change I made wasn't buying a lighter hose, it was watering less often and heavier each time I did it. For years I ran the hose over the raised beds for a few minutes every single evening because it felt like the responsible thing to do. All that did was keep the top inch of red clay damp while the roots underneath stayed dry and shallow, since roots only grow as deep as the water reaches, and mine were sitting near the surface where the first hot afternoon could stress them.
Now I water each bed until the soil is soaked several inches down, maybe fifteen to twenty minutes with the Flexi Hose running at a gentle flow, and then I leave it alone for two or three days unless we're in a real dry stretch. The clay under this lot holds water once it's actually saturated, it just doesn't take water in well if it's already dry and crusted on top, so a slow deep soak beats a quick daily splash every time on soil like mine.
It felt wrong at first, walking past a bed on a hot afternoon and not watering it because I'd already soaked it two days before. But the plants told the story. Roots went down looking for that deeper moisture instead of spreading sideways near the surface hunting for whatever I'd sprinkled on top the evening before, and by midsummer the beds were handling a dry week noticeably better than they used to.
Step 2: Water Early, Before the Sun Gets to the Leaves
I water first thing now, usually before Delia's even up, and there's a real reason beyond just beating the heat. Water applied early in the morning has hours to soak into the clay before the sun's high enough to evaporate it off the surface. Water the same bed at three in the afternoon in July and a good bit of it never makes it past the top layer of soil before it's gone.
It also means the leaves and stems dry off during the day instead of sitting wet overnight, which matters more than people think. Wet foliage sitting through a warm humid night is exactly the kind of thing that invites the fungal trouble I've dealt with on the boxwoods along the drive more than once. Morning watering with the Flexi Hose gives everything time to dry before evening, and that one habit alone cut down on the leaf spotting I used to fight every August.
It's a small shift in schedule but it changed more than I expected. I water the two raised beds and the boxwood row in about the same twenty minutes it used to take me in the evening, just earlier in the day, and the plants respond to it. Less standing moisture overnight, less stress from evaporation, and a garden that looks better by August than it used to.
Step 3: Aim the Water at the Soil, Not the Leaves
This one sounds obvious until you actually watch how most people water, myself included for longer than I'd like to admit. I used to stand at the edge of a bed and spray the whole thing down, foliage and all, because it felt thorough. It isn't. Leaves don't drink water through their surface the way roots do through soil, so anything landing on a leaf is either running off onto ground that didn't need it or sitting there inviting mildew.
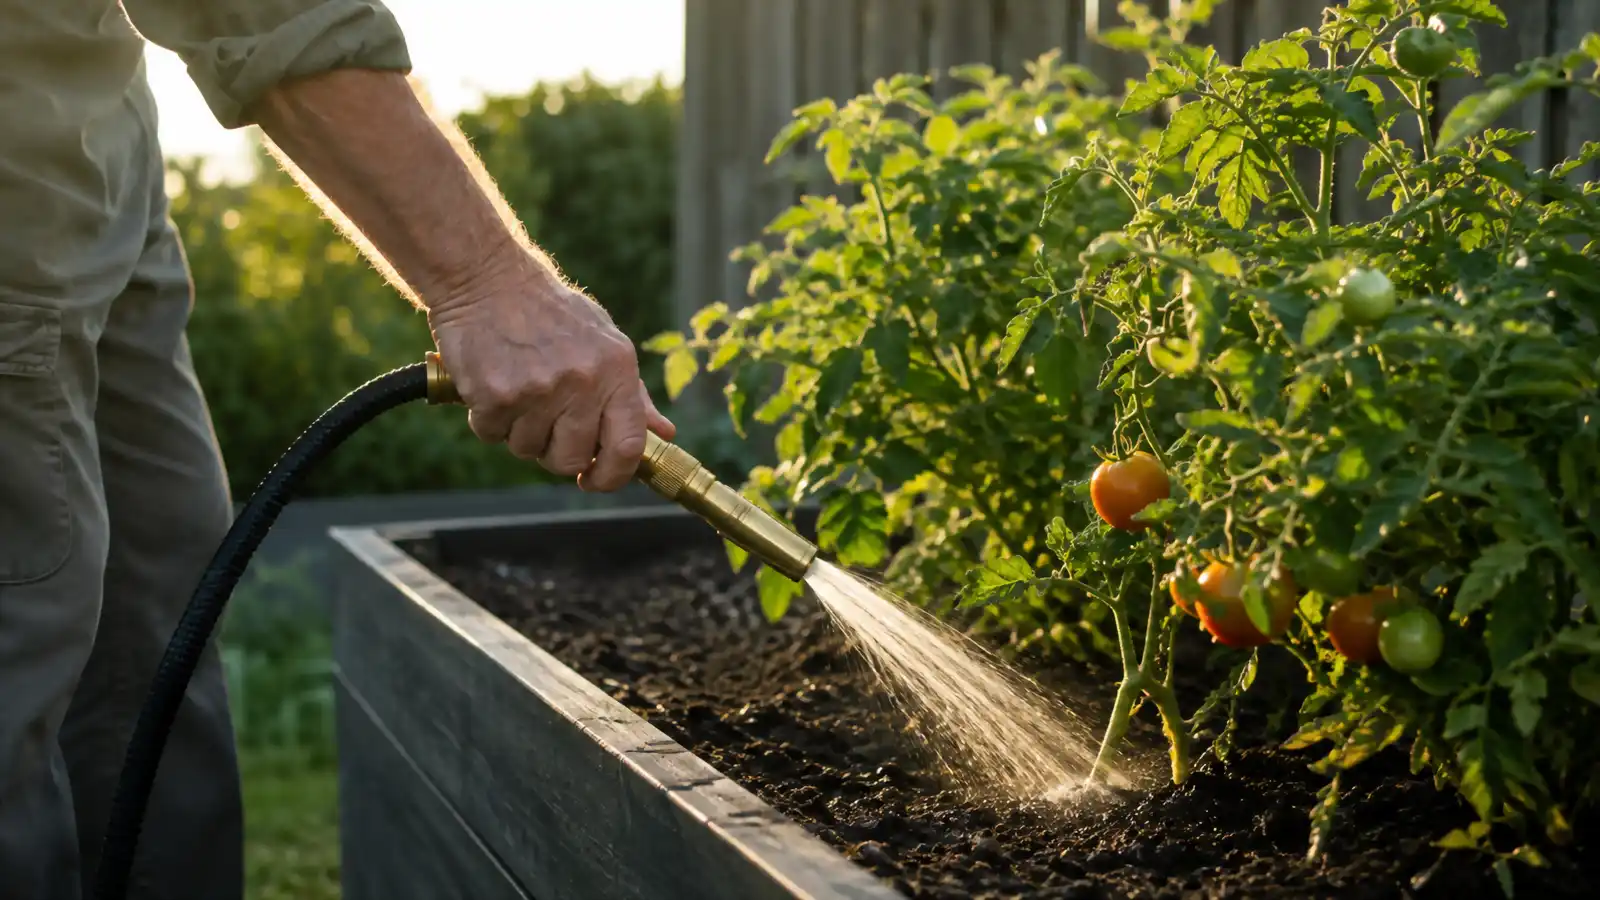
Now I keep the Flexi Hose nozzle low, close to the base of the plants, and let the water go straight into the soil around the root zone instead of over the top of everything. It takes a little more attention than just waving a hose around, moving bed to bed and aiming at soil rather than spraying wide, but it gets more water where it actually does the plant some good and less wasted on leaves that just needed to stay dry.
For the raised beds this is easy since I can walk the row and water low the whole way down. Along the boxwood hedge it takes a bit more care since the branches sit close to the ground, but even there I try to get the nozzle underneath the canopy rather than spraying over the top of the shrubs.
Step 4: Plan the Route Before You Ever Touch the Spigot
Where you run the hose matters almost as much as how you water once it gets there. I used to drag whatever hose I had straight out from the spigot toward wherever I was headed, and if that meant cutting a tight corner around the shed or catching the hose on the edge of the boxwood row, I'd deal with it once it happened. That's backward. Now I look at the run before I turn any water on.
From my spigot, the straightest path to the raised beds cuts past the corner of the shed, and that corner used to be where every hose I owned would catch and kink, back when I was fighting a rigid rubber hose that held a bend once it got pinched around something. I route the Flexi Hose a few feet wider around that corner now instead of letting it ride the tight angle, and it clears the shed wall without getting pinched against the siding.
It only takes a few seconds to glance at the path before you start pulling hose, but it saves you from fighting a hose that's fighting a corner the whole way to the bed. I water the same three destinations most mornings, the beds, the boxwoods, and the hose bib by the shed, but on new ground I still take that half minute to look at the route first.
Step 5: Put a Swivel or Quick Connect at the Spigot
A hose that starts the day twisted is going to fight you before you've even reached the first bed. Every time you screw a hose onto a bare spigot by hand, there's a decent chance you're winding a little bit of twist into the fitting, and that twist works its way down the length as the hose fills and expands, which is exactly the kind of thing that sets up a kink later on.
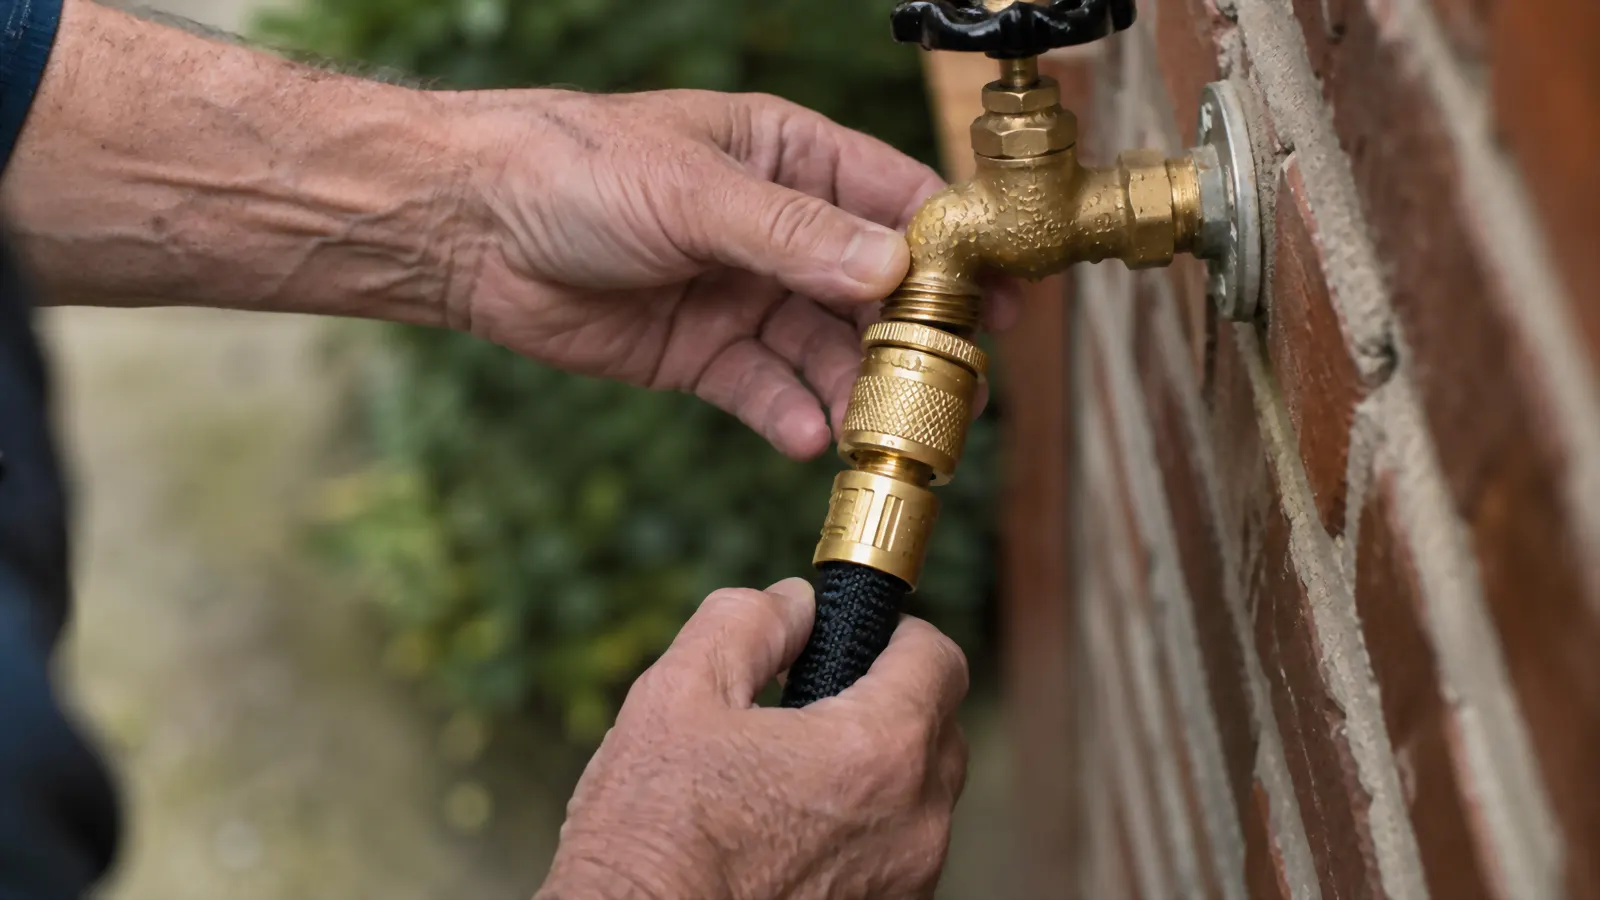
I added a brass quick connect at the spigot a while back, and it's made hooking up and disconnecting the Flexi Hose a genuinely faster job, plus it lets the hose end spin free instead of transferring every twist straight from my hand into the fitting. A swivel fitting does the same job if you'd rather stick with a threaded connection. Either way, the point is the same, keep the twist from ever getting into the hose in the first place instead of trying to work it out halfway down the yard.
It's a small part, the kind of thing that costs almost nothing and takes five minutes to install, but I notice the difference every single morning I hook up the hose. No fighting a stiff first few feet, no working a twist down the length before the water's even on.
Step 6: Lay the Hose Out Fully Before You Turn the Water On
This is the habit that's saved me the most trouble, and it's the one I skip when I'm rushing, which is exactly when I regret it. Before I turn the spigot on, I walk the Flexi Hose out to full length along the route I planned, laying it straight rather than turning the water on with it still bunched up near the spigot.
An expandable hose fills with water and grows in length as the pressure builds, and if it's coiled or doubled back on itself when that happens, it can catch on itself at the fold instead of expanding smoothly. Laying it out straight first means the whole length fills evenly, corner to corner, with nothing pinching against itself partway down the run.
It takes maybe thirty extra seconds to walk the hose out before you turn the water on, and on a morning when I'm trying to get watering done before the grandkids wake up, thirty seconds feels like it matters. But skipping it has cost me more than that more than once, standing at a bed wondering why the flow's weak, only to walk back and find the hose folded over itself two-thirds of the way down the run.
Step 7: Drain It and Coil It the Same Way, Every Time
How you put the hose away shapes how it behaves the next time you pick it up, and this is the step most people skip entirely. When I'm done watering, I shut the water off at the spigot first, then walk the length of the hose toward the shed while it's still connected, letting gravity and the last bit of pressure push the remaining water out ahead of me instead of leaving it trapped inside.
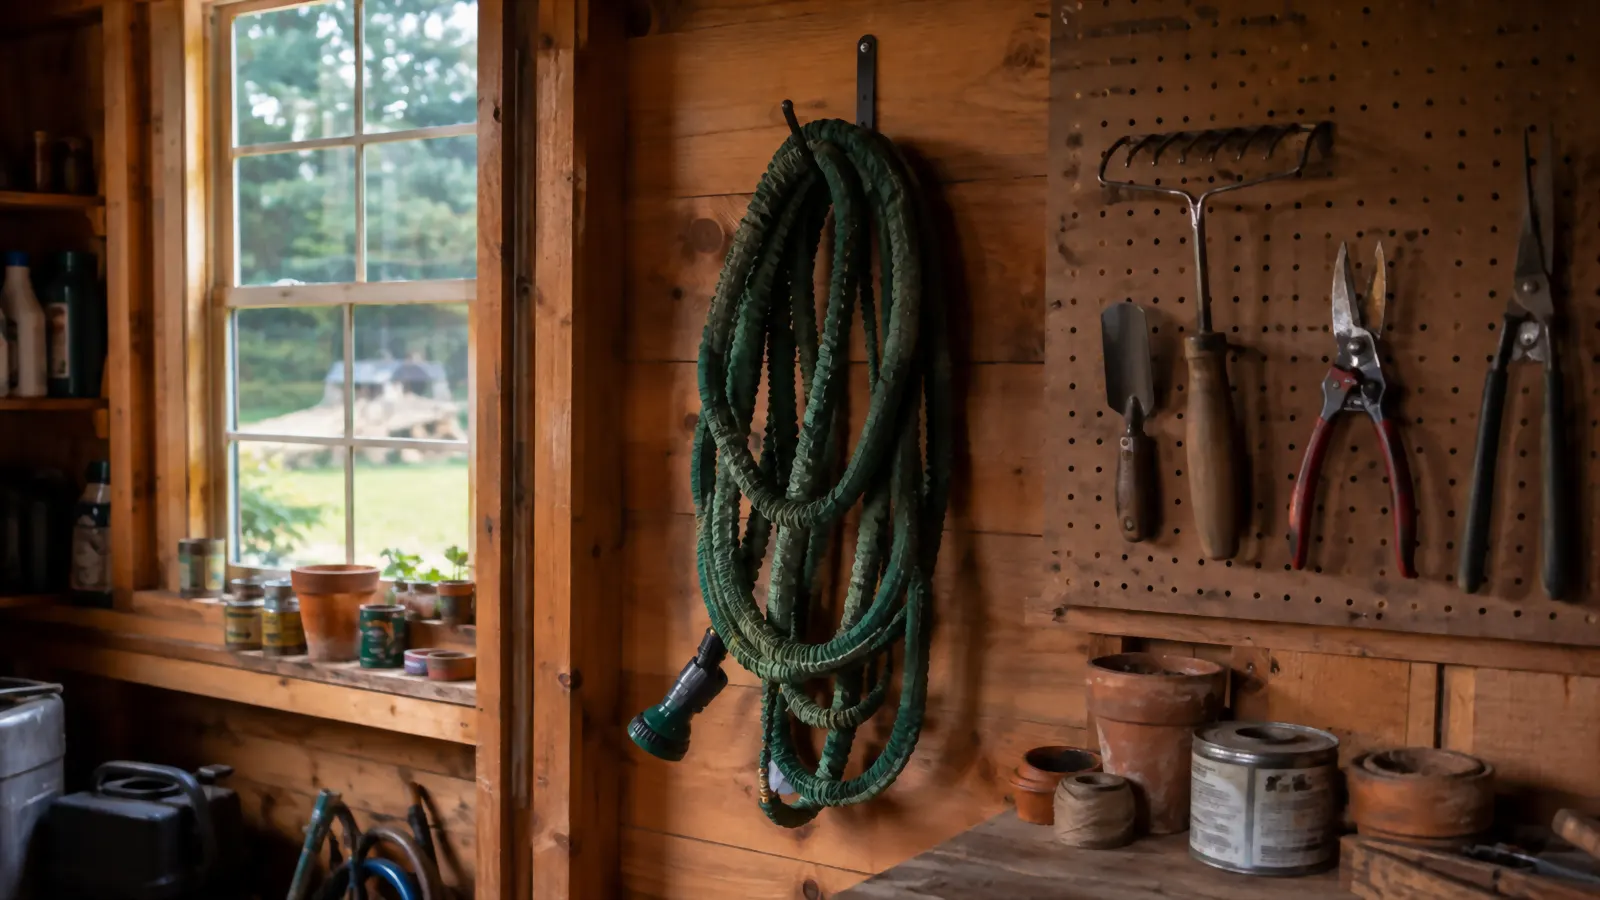
Once it's drained down and collapsed back to its resting length, I coil the Flexi Hose loosely, the same direction every time, and hang it on the same hook on the pegboard wall. I don't cram it into a bin or wind it tight, since a loose, consistent coil doesn't teach the hose to hold a bend the way a tight one does. It sounds like a small habit, but a hose put away the same way every time comes back out the same way every time, no fighting a memory kink from how it sat overnight.
I didn't always do this. The first month or two I owned the Flexi Hose, I'd drop it wherever I finished watering and deal with it the next morning, and the next morning's setup always took longer for it. Once I made draining and coiling the last step of the routine instead of an afterthought, the whole process, spigot to shed, got noticeably faster and a lot less frustrating.
What Else Helps
Beyond the seven steps above, a couple of smaller habits round out the routine. I check the spigot connection every so often for a slow drip, since a loose fitting wastes water and softens the ground right under the hose bib, which on red clay turns to a muddy patch fast. I also watch water pressure through the season, since it drops off a bit at full stretch on any expandable hose, so on mornings I'm watering the far corner of the yard I let it run a little longer.
I cover the Flexi Hose itself in more detail, including where it held up and where it started to wear after a full season, in my long-term review. And if you're still weighing whether an expandable hose is worth the switch at all before you commit to a brand, I laid out the broader case in 10 reasons an expandable hose earns a spot by the spigot.
A hose that's routed well, laid out straight, and put away the same way every time stops fighting you. That's most of what changed for me, not the hose itself, but the seven small habits built around it.
Water Deep, Water Early, and Let the Hose Cooperate
Every step above works better behind a hose that expands smooth and resists kinks in the first place. That's been my experience with the Flexi Hose on this half-acre lot. Check today's price and current rating on Amazon.
Amazon Check Today's Price on Amazon →