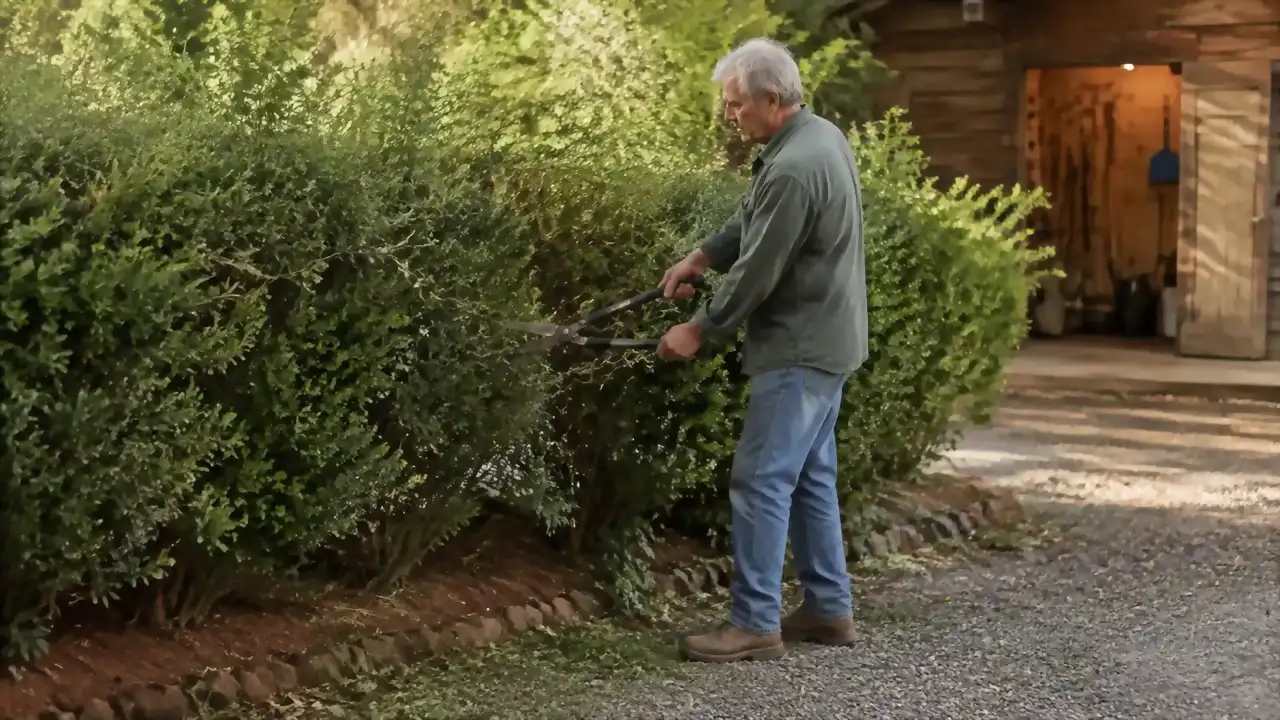
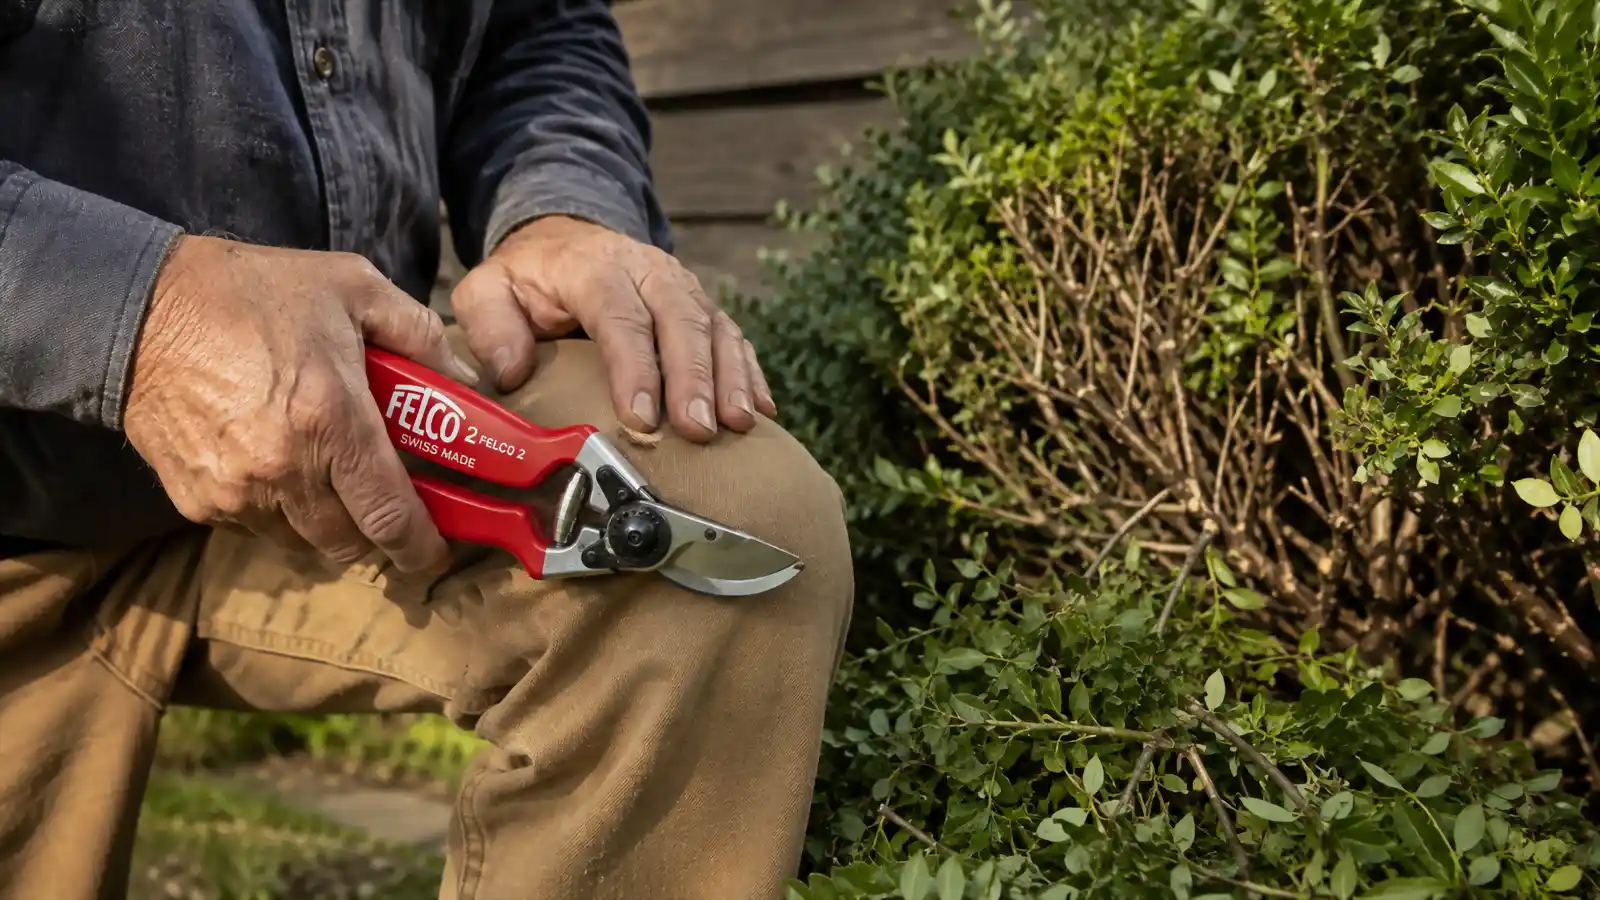
The boxwood row along my drive got away from me for two seasons running. I was slow getting back out there after a wet spring, and by the time I looked at it straight on, it had gone from a tidy hedge to something closer to a green wall, dense on the outside and mostly dead twig in the middle. I've pruned that same row for close to twenty years, and it still surprised me how fast a shrub gets away from you if you skip even one season. What follows is the process I actually use, with a pair of Felco F2 bypass shears doing most of the cutting, to bring an overgrown shrub back into a shape that's healthy all the way through, not just tidy on the surface.
None of this is complicated, but it's easy to get wrong in ways that don't show up until the following spring. Cut at the wrong time and you lose a season of blooms. Cut too much at once and you stress the plant into a slow recovery, or worse, into dieback you can't undo. I've made both mistakes on this same lot over the years, so what I'm laying out here is less theory and more the version I wish someone had handed me before I started.
The Right Cut Starts With the Right Tool
Everything in this guide depends on a shear that cuts cleanly instead of crushing the stem. I've used the Felco F2 for five seasons on this exact hedge, and it's the reason the process below actually works the way I describe it. Check today's price and current rating on Amazon.
Amazon Check Today's Price on Amazon →Step 1: Pick the Right Time, and Know Which Shrubs Break the Rule
For most shrubs, the best window is late winter into very early spring, while the plant is still dormant and before new growth has pushed out. You can see the branch structure clearly with no leaves in the way, cuts heal faster once the growing season kicks in, and you're not hauling off a season's worth of tender new growth for nothing. I do the bulk of my renovation pruning in late February here in the Piedmont, right before the ground starts to soften and the willow oak begins to bud.
The exception that trips people up is spring-blooming shrubs, things like forsythia, lilac, and some viburnums that set their flower buds the previous summer, on old wood. Prune those in late winter and you'll cut off every bloom before it ever opens. The rule I use is simple: if it flowers before June, prune it right after it finishes blooming, not before. Everything else on my property, including the boxwoods, I handle in the dormant season with the Felco F2 in hand, since boxwood doesn't bloom for show and won't punish you for cutting it back early.
One more timing note worth knowing. Avoid heavy pruning in late summer or early fall, even on shrubs that would otherwise tolerate it. Cuts made then can push out tender new growth that doesn't have time to harden off before the first frost, and that new growth is usually what gets killed back over winter, undoing the work you just did.
Step 2: Decide How Much You're Actually Going to Take Off
This is the step people skip, and it's the one that turns a good pruning job into a shrub that looks hacked. The general guideline is to remove no more than a third of the shrub's total growth in a single season. A boxwood row that's badly overgrown, the kind with a solid green shell and a dead, twiggy middle, didn't get that way in one year, and it shouldn't be fixed in one year either.
For a shrub as far gone as mine was, I plan renovation pruning over two or three seasons instead of forcing it all at once. Year one, I open up the canopy and remove the worst of the dead interior wood, staying under that one-third mark. Year two, I take another pass, cutting a bit harder now that the plant has had a season to recover and push new growth from inside. By year three it's usually caught back up to where a single normal season's pruning keeps it in shape. It takes patience, but I've watched a neighbor take a whole hedge down to stubs in one afternoon trying to shortcut this, and half of it never came back.
Before you make a single cut, walk around the whole shrub and look at it from more than one angle. It's easy to stand in one spot, see a section that looks overgrown, and start cutting there without noticing you're about to remove a third of the plant's whole canopy on just that one side. I make a slow lap around the boxwood row first, most days with a cup of coffee in hand, before I ever open the Felco F2.
Step 3: Learn the Three-Cut Rule Before You Touch a Thick Stem
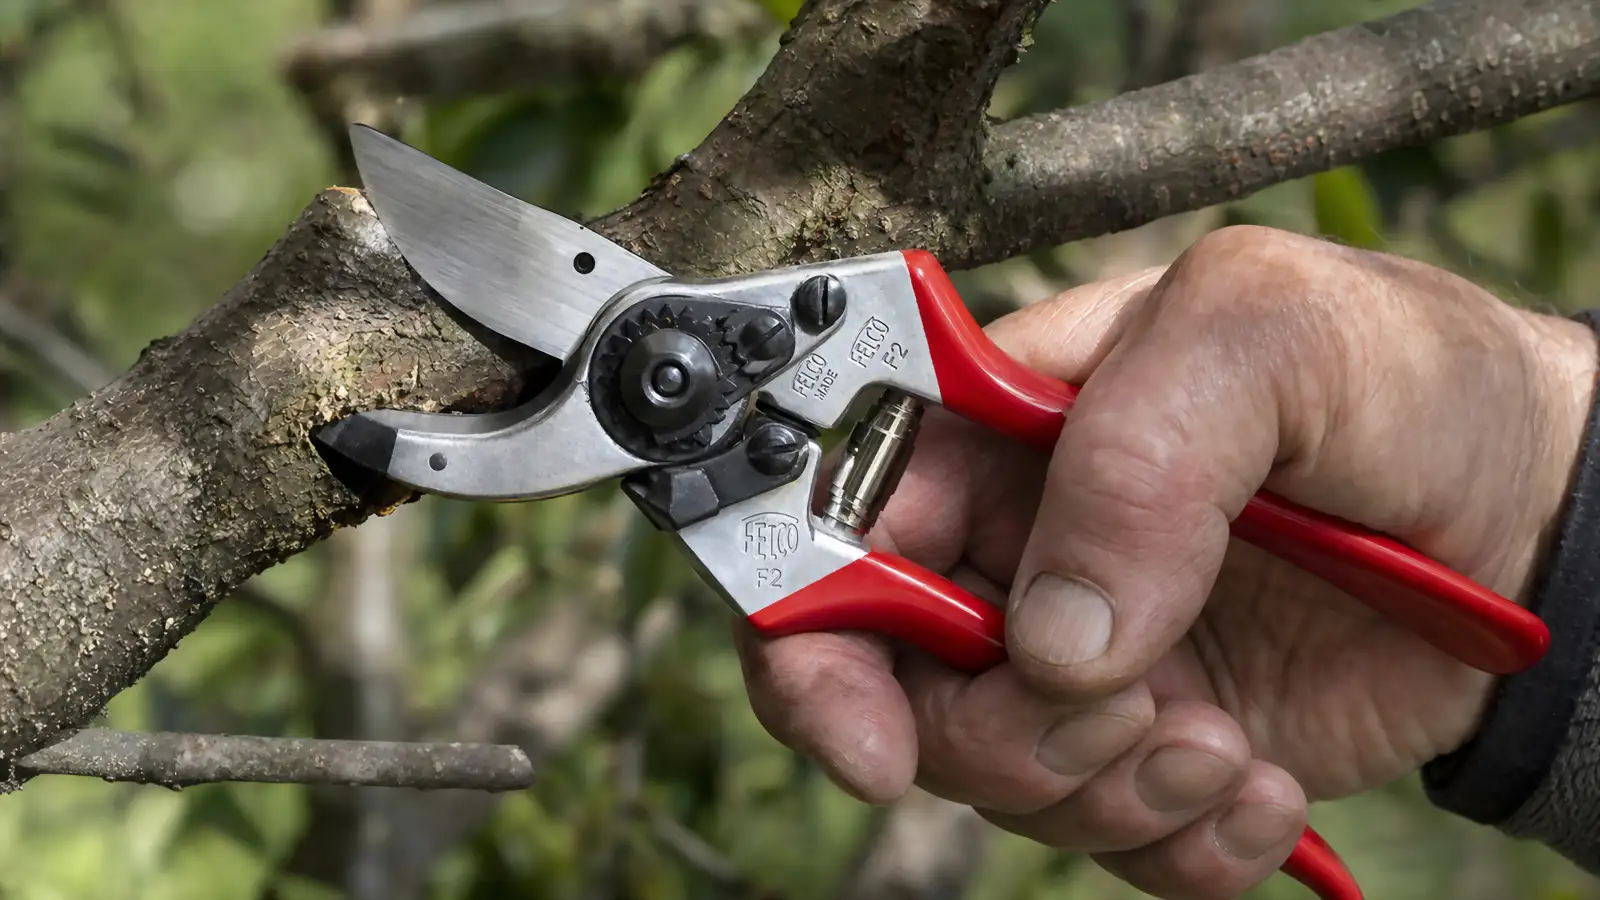
For any stem or branch too thick to cut clean through in one pass, which on a bypass shear like the Felco F2 usually means anything approaching that three-quarter-inch upper limit, don't just push through it with brute force. A single heavy cut on a thick stem tends to tear the bark on the underside as the weight of the branch drops before the blade finishes through, and a torn cut heals slower and invites disease in a way a clean one doesn't.
The three-cut method solves that. First, make a shallow undercut on the underside of the branch, a few inches out from where your final cut will land, cutting maybe a third of the way through from below. Second, make a second cut on top of the branch, slightly further out from the trunk than your undercut, and let the branch fall away, the undercut keeping it from tearing bark as it drops. Third, go back and make your final, clean cut closer in, removing the remaining stub at the right spot, which I'll cover in the next step. It sounds like a lot of steps for one branch, but in practice it takes about the same time as one bad cut and a cleanup afterward.
This is where a well-balanced tool earns its keep. The Felco F2's weight sits toward the blade, so even on the thicker end of what it's rated for, I'm not fighting the tool through the cut, and that matters most on the final, precise cut where you want control, not force.
Step 4: Cut Back to a Node or a Branch Collar, Never in Between
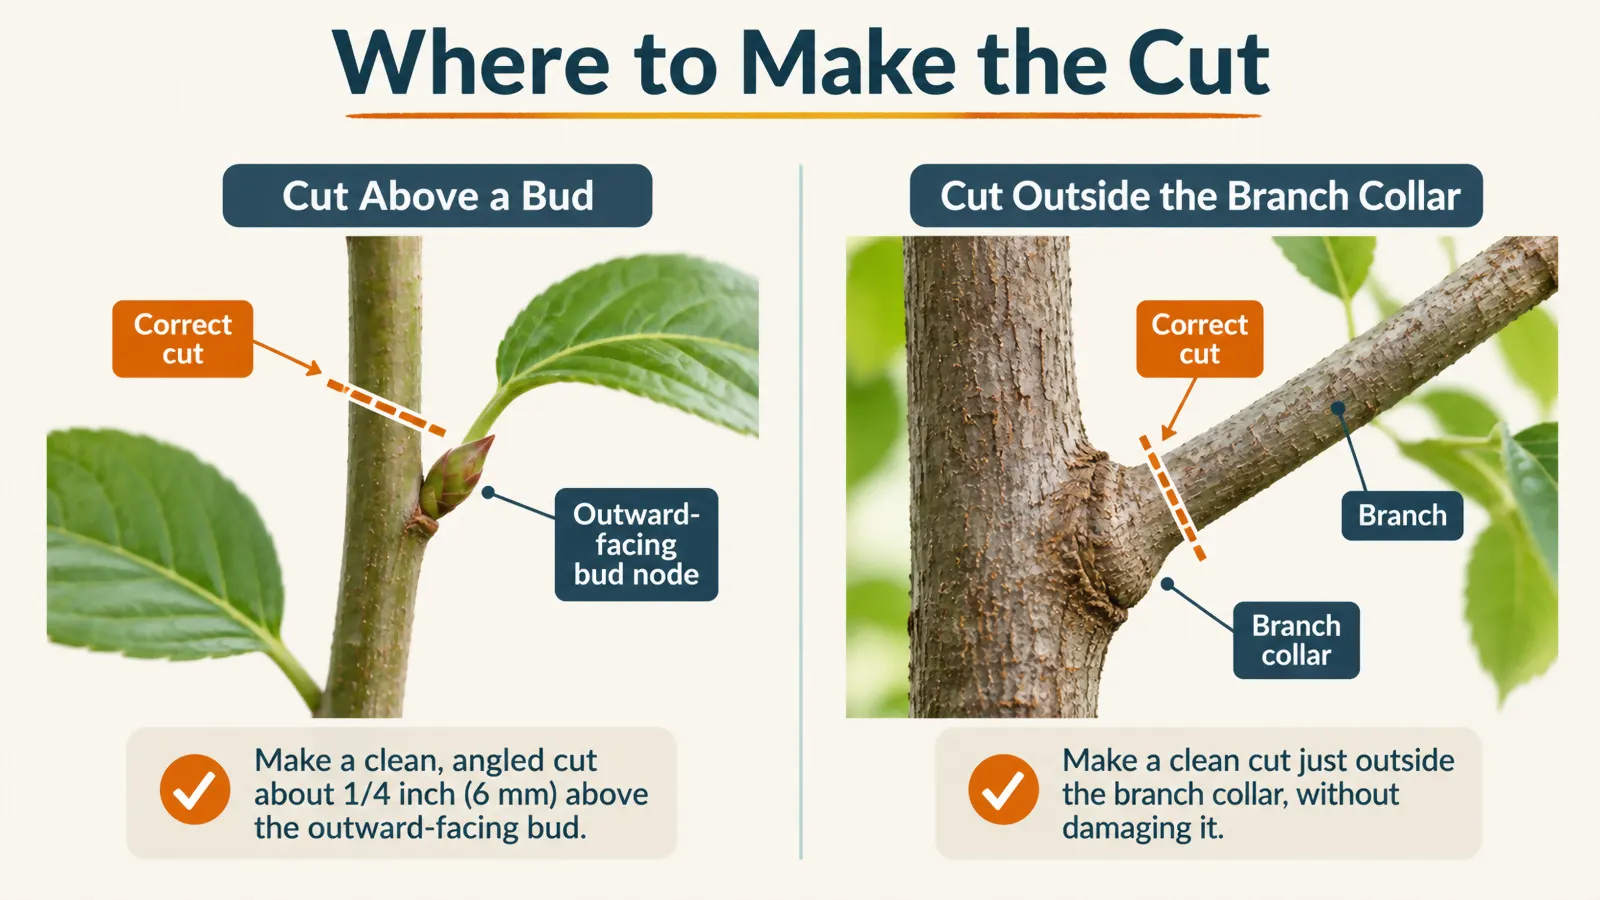
Where you make the cut matters as much as when. On a smaller stem, you're cutting back to a bud node, the small swelling on the stem where a leaf or side branch emerges. Cut about a quarter inch above the node, angled slightly away from it so water runs off rather than pooling on the cut face, and choose a node that faces outward, away from the center of the shrub, since that's the direction the new growth will head.
On a larger branch you're removing entirely, you're cutting back to the branch collar, the slightly swollen ring of tissue where that branch meets the trunk or a larger limb. Cut just outside that collar, not flush against the trunk and not leaving a long stub past it. Cutting flush removes tissue the plant needs to seal the wound properly. Leaving a stub gives fungus and rot a foothold that can work its way back into healthy wood. The collar itself contains the cells that wall off the cut and let it heal, so working right up against it without cutting into it is the target.
I never cut in the open space between two nodes, and I never leave a stub with no node or collar to grow from. Both leave dead wood hanging on the plant that eventually dies back further than intended, sometimes taking healthy wood with it. A clean bypass cut from the Felco F2 makes it easy to see exactly where the blade is landing, which matters more here than almost anywhere else in the process, since a crushed or ragged cut at a node is often worse than not cutting at all.
Step 5: Work the Whole Shrub, Thinning More Than You Head Back
There are two basic kinds of cuts, and an overgrown shrub usually needs more of one than the other. Heading cuts shorten a branch back to a bud, which encourages a flush of new growth right at that cut point, and too many heading cuts in the same area is what creates that dense, twiggy shell with nothing but dead wood underneath, the exact problem my boxwoods had. Thinning cuts remove a branch entirely back to its point of origin, opening the plant up rather than encouraging bushier growth right at the surface.
For a badly overgrown shrub, I lean heavily on thinning cuts, working from the inside out. I reach into the canopy with the Felco F2 and remove entirely dead branches first, then crossing or rubbing branches that are competing for the same light, then a portion of the oldest, thickest stems at ground level to open the whole plant up and let light reach the interior again. Only after that do I do any light heading back around the outer surface to even out the shape, and I keep that part minimal on a renovation year.
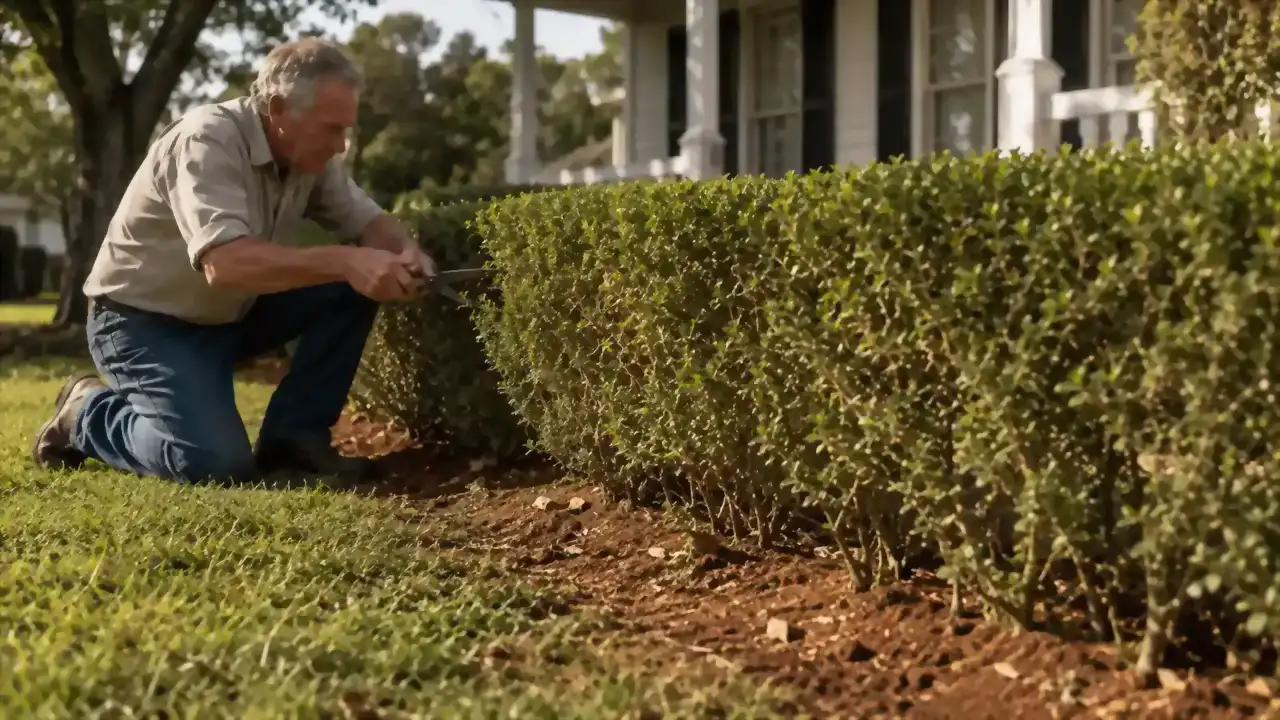
Work slowly and step back often. I'll cut for ten or fifteen minutes, then back up ten feet and look at the whole shrub before I touch it again. It's easy to get tunnel vision on one bad-looking branch and lose track of the overall shape. On the boxwood row, I walk the length of the drive after every few stems come off, since a hedge especially needs to read as one continuous shape rather than a series of individually good-looking sections.
What Else Helps
Clean up as you go rather than leaving a season's worth of clippings under the shrub. Fallen leaves and stems can hold moisture against the base of the plant and invite the same rot problems you're trying to prune out. I keep a tarp down while I work and drag it to the compost pile once I've cleared a section, which also makes it a lot easier for Sawyer and June to help gather without stepping on anything sharp. A light layer of mulch afterward helps the soil hold moisture through whatever dry stretch follows, especially on a slope like the one at the back of my lot where water runs off fast. Wipe the Felco F2's blade down with an oiled rag before you put it away, particularly if you cut through any diseased wood, since sap and plant matter left on the blade is exactly what carries disease from one shrub to the next season after season. If I know I've cut anything showing signs of blight, I'll go a step further and wipe the blade with rubbing alcohol between shrubs, not just at the end of the day, so I'm not spreading a problem down the row without meaning to. For more on how the tool itself holds up to that kind of regular use, I wrote up a full account in my long-term review of the Felco F2, and if you want the short version of why I reach for it over anything else in the shed, 10 reasons the Felco F2 earns its keep covers that in less time.
An overgrown shrub isn't a problem you fix in an afternoon, it's a problem you correct a little more honestly each season until the plant catches back up to itself.
A Clean Cut Does Half the Work for You
The steps above only hold up if the tool making the cut is doing its part. I've leaned on the same pair of Felco F2 shears for five seasons of exactly this kind of work. See the current price and rating on Amazon before your next pruning weekend.
Amazon Check Today's Price on Amazon →